ALL YOUR PHOTOS ON YOUR IPHONE
WD Photos --
Sharing in the 21st Century
By MIKE PASINI
Editor
The Imaging Resource Digital Photography Newsletter
Review Date: April 2010
Whether you're a harried homemaker whose photos are crying to be let out of the camera or a pressed pro who pines for a digital proof book, the Cavalry has arrived. Several products we've toyed with the past few weeks make it easier than ever to share thousands of images wherever you are.
In fact, it's so easy and so powerful, the word "sharing" seems almost misleading. It's more like publishing. Targeted publishing, but publishing.
The first solution we'll look at is WD Photos from Western Digital, the hard drive company in San Jose, Calif. It's an iPhone app that runs just as well on the larger-screen iPad. And it's free.
Installed. WD Photos installed on an iPhone.
REQUIREMENTS | Back to Contents
WD Photos v1.0 was released April 13, requires 1.0-MB storage on your iDevice and runs in English, Chinese, French, German, Italian, Japanese, Korean and Spanish.
It requires iPhone OS 3.0 or later and is compatible with the iPhone, iPod touch and iPad. There isn't a special version for the iPad, though, so images are as small on the iPad as on the other two devices.
Simple requirements but there is one rather hefty prerequisite. You have to have a network-attached storage device to use it. Yes, WD makes NAS devices.
Network-attached storage is just an external hard drive, usually of rather large capacity, that plugs into your router rather than into a computer.
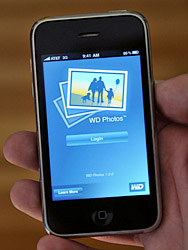
Signon Screen. Time to log on.
To get it to fly, it comes with NAS software installed that you access from any computer on your network using a browser. That's how you control and configure the NAS server, but the beauty of it is that it isn't captive. Any computer on your network can use it.
It's just a big password-protected hard drive. Enter the password and the parts of the drive accessed by that password are available to you.
You may already be used to using an external drive from one computer for backup. A NAS is much like that, except it accommodates any user on your network.
And that includes users who log in from outside your local area network, over the Web, say. Which could be you.
You might, for example, be in some hotel room far from home and want to hear some album you have on your NAS at home. You can log into the NAS and play the music just as if you were at home.
Same goes for photos. And with WD Photos, you can do the logging in and playing from an iDevice.
WD sent us a $160 My Book World Edition with a single 1-TB drive. It comes in a white plastic case shaped something like a language dictionary with a 2.5-inch window on the spine through which a number of status LEDs communicate with the curious.
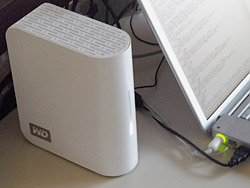
My Book World Edition
The business end of the box has a power port, a USB port (for additional storage and copying) and an Ethernet port (for connecting to your network). There's a Reset button but no Power button. A NAS is designed to stay on 24/7. The My Book lineup of various capacities includes WD GreenPower technology for efficient cooling and power saving.
And they're very, very quiet, too. We prefer to work in utter silence, actually. But we dared to set the MyBook up right next to our keyboard (so we could keep an eye on it, frankly). It didn't bother us at all. Sort of like having a quiet parakeet around, who only hopes from perch to perch and sometimes sharpens its beak to dig around in the seeds.
It includes some pretty sophisticated software because, let's face, we want to do a lot of things with a NAS these days. We want to stream our video collection and play our iTunes albums and see all of our photos. We want to store those things on one big old NAS (plus a couple of backups, let us hasten to caution you) and not on every computer in the building.
There are three levels of software in the My Book. Sounds intimidating, but taken step by step, it makes sense. The documentation is very good, regardless of which operating system you are using.
You can immediately mount the NAS from your local operating system, but you'll want to configure it beyond the default setup, which includes a Public folder (with your shared video, music and photo collections) and a Downloads folder (where you can direct long downloads when you want to shut down your computer).
Basic Setup. The first level of software is the built-in configuration tool that runs from your browser. After loading the log-in page (we used Bonjour to find the drive at http://mybookworld.local./), simply log in with the default username and password to access one of the tools. Your choices are the Network Storage Manager, Downloader and Copy Manager.
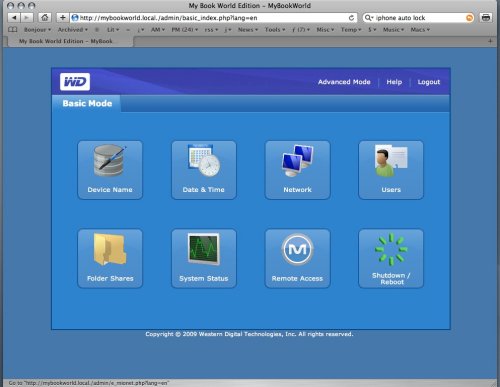
The Network Storage Manager lets you set up various users, add new folders, check the system status and more. None of it is really required for WD Photos but this is where you configure your NAS.
WD Backup Anywhere. Also not required for WD Photos, but a very handy utility (at least for systems without Time Machine) is WD Backup Anywhere, a backup utility that runs in the background to copy changed files to the NAS as they change. The initial backup takes a while and is limited to files in your home directory, but once you've populated the NAS with your data, it refreshes it automatically as long as the volume is mounted.
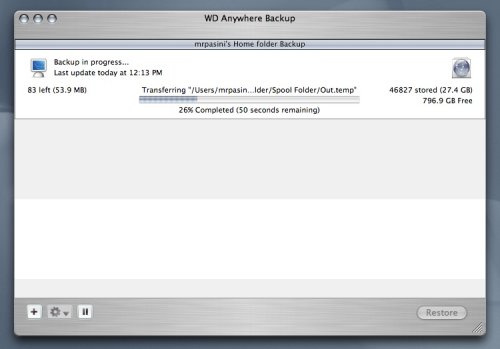
And, as a bonus, WD Backup Anywhere can keep your backup updated from anywhere. You just need Web access to shuffle the new files to the NAS on your home network.
As a background process, WD Backup Anywhere communicates to you via Growl, a small utility that unobtrusively pops up status messages. It's optional, if you prefer not to be interrupted.
And you can install WD Backup Anywhere on any computer you want to be backed up to the NAS.
MioNet. The key software for WD Photos is the third of these levels. MioNet is a Web service that allows for remote yet secure access to the Public folder on your NAS.
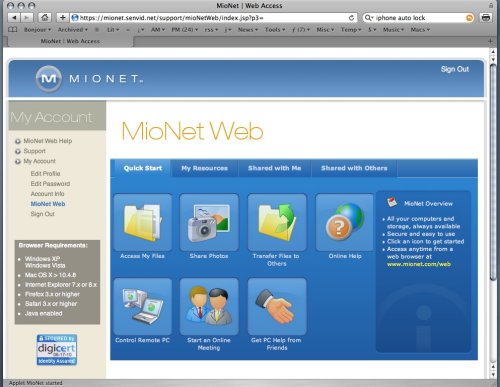
To enable the feature, you set up a free account at MioNet, which establishes a username, password and volume name for your NAS. The service is available for a fee for other NAS hardware, but WD includes it with the My Book World NAS.
This is the service that WD Photos will log into when you install it on your iDevice.
INSTALLATION | Back to Contents
So to recap, the essential installation steps for WD Photos are:
- Install your NAS (WD Photos has a special offer on its Help screen if you don't already have a NAS).
- Create an account at MioNet to link to your NAS by name with a username and password for secure access to the Public folder.
- Copy some JPEG photos into the Shared Pictures folder of the Public folder of your NAS. They are simultaneously if clandestinely thumbnailed in a hidden folder on the NAS.
- Find WD Photos at the Apple Store, then download and install it on your iDevice.
WD PHOTOS IN ACTION | Back to Contents
WD Photos is very simple to use. Tap it to launch it and the log-in screen appears. You'll have to enter the username and password you set up at MioNet before you see the name you gave your NAS there (which doesn't have to be the volume name itself). Subsequent accesses will log you in automatically.
Signon |
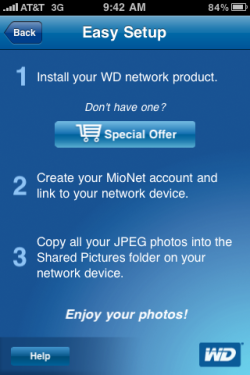
Setup Instructions |
There is a Help screen and a built-in FAQ in case you have a problem.
We didn't have a problem. After entering our username and password, we were taken to a My Resources page which listed our NAS by name. The first time we tapped it, a progress bar reporting "First Time Setup" appeared briefly. Then we saw our folders.
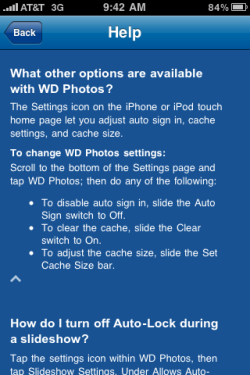
Help |
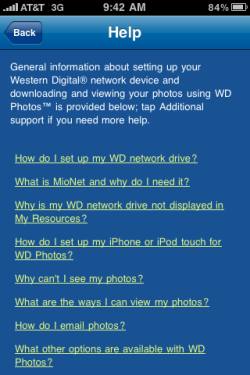
FAQ |
We had put two folders of rather small images up. Tapping on either one took us to the folders inside, which at the file level listed square thumbnails in a 3x4 grid with four icons below them: View, Filter, Search and Help.
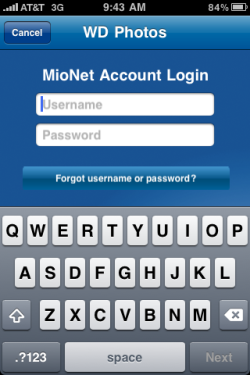
Login |
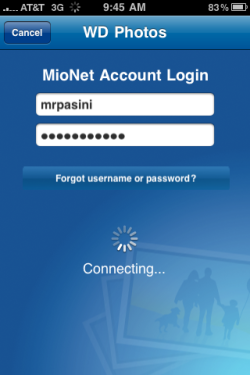
Connecting |
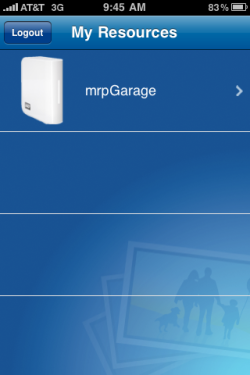
Resources |
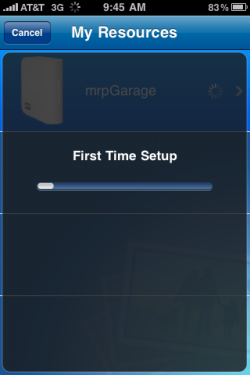
First Time Setup |
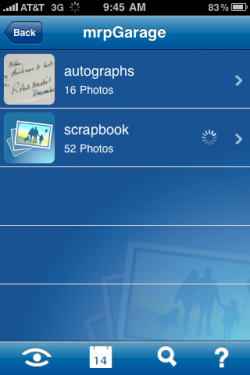
Two folders in Public |
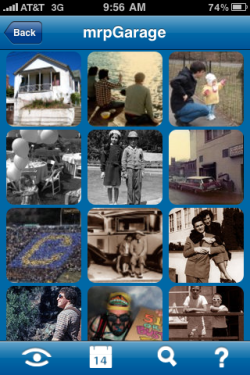
Icon view |
View. Tapping the View icon cycles through three options: Folder view, Album view and Image view.
What you're viewing are the optimized thumbnails created in the hidden folder on the NAS. "We did this to prevent the user from accidentally deleting the thumbnails and optimized photos," WD told us. "This file is small and uses a very small area of the 1-TB drive."
That's one of the secrets that makes this work. You don't have to download high resolution images from your NAS and then thumbnail them on your iDevice. You just download the thumbnails sized for the iPhone screen.
Even that, we found, can take a while if your folders have a lot of images. We found a slight delay on first access for folders with a dozen images or so. We also stress tested WD Photos by downloading a folder with 2,994 iPhone images. That worked but was sluggish. We hit the View icon to refresh the list, watching it grow bit by bit for several minutes, although some thumbnails were available quickly.
So expect some initial delay but once you have the thumbnails on the iPhone, it's as if the images themselves are there.
Except for one little thing. You can't zoom them.
We asked WD about that. "In version 1.0 of WD Photos you cannot zoom on a photo," WD said. "We chose to do this because it increases speed for initially accessing photos." And WD, claims, it does that faster than its competition.
We found we could add an image to our camera roll and then zoom it, but we were only enlarging the pixels. There's no more data to see.
And that initial delay while the thumbnails are downloading is something WD is working on. WD told us, "In version 1.1 we have implemented a solution to automatically start downloading the thumbnails instead of waiting for the user to scroll to them first." With more image data being transferred for zooming, that should help.
On the View Image screen, a Share icon brings up a Share menu with the following options: Email Photo, Assign to Contact, Add to Camera Roll and Slideshow Settings. Slideshow settings include Duration (from 3 to 60 seconds) and an Auto-Lock toggle (to allow the iPhone's Auto-Lock during a slideshow).
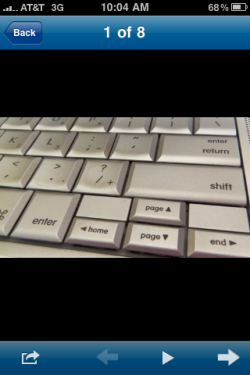
Image view |
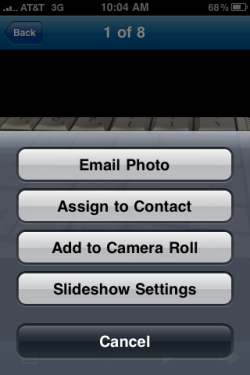
Share options |
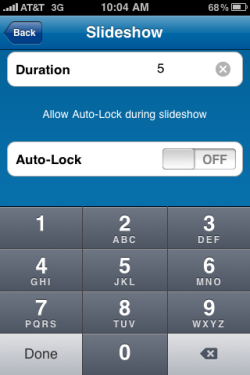
Slideshow options |
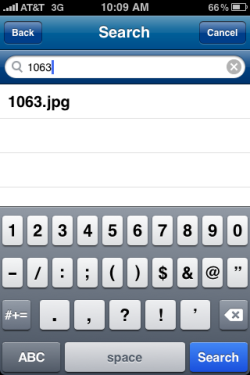
Search |
Filter. Being able to filter the large collection of images on your NAS is essential. Filtering in v1.0 is by date. You can enter a range of dates, a specific month or a year. The main menu will show a glowing Filter option if a filter is active. Tap the Search icon in the Filter menu to either activate or deactivate a filter.
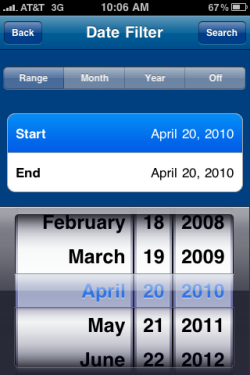
Date Filter by range
Search. The Search function prompts for a search phrase. We used filenames. Below the prompt, a list of finds appears as you type. You can tap any of them to select it. The search is not case sensitive.
There isn't a lot missing in v1.0, although we imagine some folks would love to have an audio track for the slideshow and some fancy transitions. But we didn't miss either.
We were sometimes confused about the thumbnail download state. Did we have them all, were they still downloading? Refreshing the View helped to update the status, but updates weren't live. A few hours with the app would probably give us a sense of what was going on when, but at first it was a little disorienting.
Security, however, wasn't an issue. It's a public folder, yes, but it's password protected. We suspect it might be a little awkward to set up for multiple clients. You wouldn't want Citibank seeing a Chase folder in your Public folder, for example. But MioNet provides ways around that we didn't explore.
And we'd love an iPad version with larger images -- but we have to admit in the same breath we wouldn't want to wait for the larger thumbnails to download.
While WD Photos 1.0 may sound rather rudimentary, the experience of using it was anything but. It was liberating.
The concept itself is, well, cool. Access all the photos stored on your WD NAS drive from your iPhone, no matter where you are. As our volunteer tester observed, "Sounds cool!! Two-exclamation-point cool."
And in practice it did not disappoint. We logged into the NAS without a problem. We could find the folders we copied to the Shared Pictures folder of the Public folder. And we could see them on the iPhone screen full frame.
After a short initial delay to download the images over a 3G network connection, we were able to scroll through them as if they were on the phone itself. Which, in fact, they were. At least until we left the app.
So in very short order, we were able to access our photo collection from an iPhone without monopolizing the iPhone's storage. We'd put our collection on our own personal cloud. And we could gaze up at it any time we wanted.
Outright prolonged applause!! Yes, with two exclamation points.